Tuesday, June 8, 2010

Day 14: Let-Down's and Laments; Trying To Start

Well as you can see by the video, she is not going to start without push starting. I went to Western Cycle Salvage on N. Vancouver Way in Portland, but nothing. No master link, no clutch cable, no bulk foam for an air filter.

Next I went to Johnny's Motorcycle Repair and was able to find out that the chain I have is a 428. Does not say that in either the Clymer's or the stock manual I have. They are at 1510 Washington St, Vancouver, WA. Their website is: www.johnnysmotorcyclerepair.com. I was able to order the master link for $4.28 (including tax). He said within a couple of days. So... I will soak the chain and get it all cleaned up, same with the clutch cable.

Before the test starting above, the top end did not have a gasket so I manufactured one out of a Lucky Charms box and a hole punch. Worked pretty darn good.

Now there is spark, compression, and fuel flow. We are one master link away folks!

Saturday, June 5, 2010

Day 13: Exhaust, Fuel Tank and Starting

Well after last night's monumental success, starting is now imminent! The exhaust, as shown here, is now mounted and finalized!
The only thing keeping her from starting now is the drying out of the fuel tank and mixing the fuel. There was some difficulty removing a pine cone from the inside of the fuel tank but all is good now. I am also informed by Karl, as per Southwest Montesa, the fuel mixture is 42:1. A bit odd of a mixture but what should one expect for 1972?! Other input that we have had say as high as 30:1. I guess we will have to dink with it a bit. Update: mix is 20:1.
The only thing holding us back from starting is the master link on the chain so we can push start her.
I had to manufacture the exhaust gasket. Here is the video:

Friday, June 4, 2010

Day 12: WE HAVE SPARK!

After a solid effort by Karl and myself checking the electrical system, WE HAVE SPARK! She lives! Today has been a monumental success! More to follow...

Day 12b: Electrical System

This is the entire fuse box and electrical system. The only part not shown is the kill switch on the handlebars. As per the manual, the left side is: green/black/red/yellow and the right side (without optional lights) is: Empty/coil/kill switch/empty. It is a very simple system without a battery. The plan is to add lights later and make it street legal.

Day 12a: Brakes and Throttle

It is my opinion that before going, one must ensure the ability to stop. To facilitate that I have completed the front and rear brake. This included replacing the rear break wing nut, which broke in half and shot across the room. Talk about dodging a bullet! That was two at once! The front brake just needed the cable rehabilitated and some cleaning. It still sticks a little but this bike hasn't been ridden in a long time and I believe some use will get it working good.
The throttle assembly, including the carburetor and cable, needed some extensive rehabilitation to get it to work properly, but all is well now!

Thursday, June 3, 2010

Day 11: Fuel System

The fuel system is next. As you can see it is very simple on a trials bike. The only part not included here is the carburetor, which is already mounted on the engine. Notice how the gas tank is integrated into the seat to conserve weight and materials. I decided to use brand new tubing after cleaning the fuel filters. Ridgefield True Value Hardware had exactly what I needed on hand and they are always helpful.
Now after the cleaning and rehab of the existing parts, we have a finished product. Beautiful!

Wednesday, June 2, 2010

Day 10: Continue the Build

Now that most of the problems have been ironed out, the build continues. Aside from a few hiccups, everything is starting to come together. I believe the only things that are needed to actually start the motorcycle are: Clean out the tank, purchase some tubing for a fuel line and connect the electrical. Once those three happen the motorcycle can be started.

Thursday, May 27, 2010

Day 9: The Top End and Mount

Manufacturer nuts are not going to happen. Team member Karl's dad, John D., was given the dimensions that were needed and the top end to use for reference. He quickly cranked out the needed nuts and they work marvelously!
This project would be dead in the water if not for his gracious help. The top end has to be installed for the engine to be mounted.

As you can see, the nuts work and seat perfectly! Now that this dilemma has be easily conquered, progress will be much swifter folks! I have already sealed up the engine and mounted it in the frame.

Many thanks again to John! His valuable time and magnificent expertise were key to this phase!

Thursday, May 6, 2010

Day 8: The Top End

The main reason this Montesa Cota did not run for years was rings. They are very difficult to find. I have gotten a stock set and each one has broken without the slightest hesitation. I don't know if it is from sitting on a shelf for 30 some odd years or if some other factor is involved. They were handled with the up most care.
I wanted something better for the old girl. I did some extensive research and found that I could use a pair of 1985 Honda CR125 rings. I specifically used Wiseco (part#: 2126CS) because I have always had good results and it is a solid product.
Another purchase I made at the same time was a ring installation tool. Probably the last one I will ever have to buy unless I am working on a V8 or larger. I have no information on the product at all except for the sticker on the package. That reads as follows: WPS 39-1005 Ring Installer. I would have to assume, which I do not enjoy doing, that the WPS is for White Power Systems, a well known motorcycle supplier. The tool performed very well and it was extremely simple to use.

All of these parts I got from the Vancouver Pro-Caliber Motorcycle. I have only two things to say about them. There is nothing that is even remotely close to being "Pro-Caliber" about that company and they will never get another dime of my money. Save yourself the nightmare people and shop somewhere else! You have been warned!

The next step was getting new nuts for the studs holding the head on and the top end together. Not so easy folks! The holes for the nuts to attach the studs are not big enough to get a tool on. A bit more research is needed. I do get all my nuts and bolts from Vancouver Bolt. They have taken care of myself and many friends for years! I think, at this point, I will just take the whole engine down there so they can find me a good solution to this problem. Sadly; Vancouver Bolt could not supply me with actual parts, but that is not to say that they didn't help. After consulting with their knowledgeable and friendly staff, I know exactly what I need. The actual nuts are 8mm @ 1.25 thread pitch, Allen nuts with enough room for 1/2 inch stud. It is the only thing that will fit down the very narrow 3 inch deep access hole and still be able to get a tool on it.
Folks, if you don't know what the heck you need and are starting a project, I highly recommend starting at Vancouver Bolt.

Tuesday, March 9, 2010

Day 7: Rolling Chassis

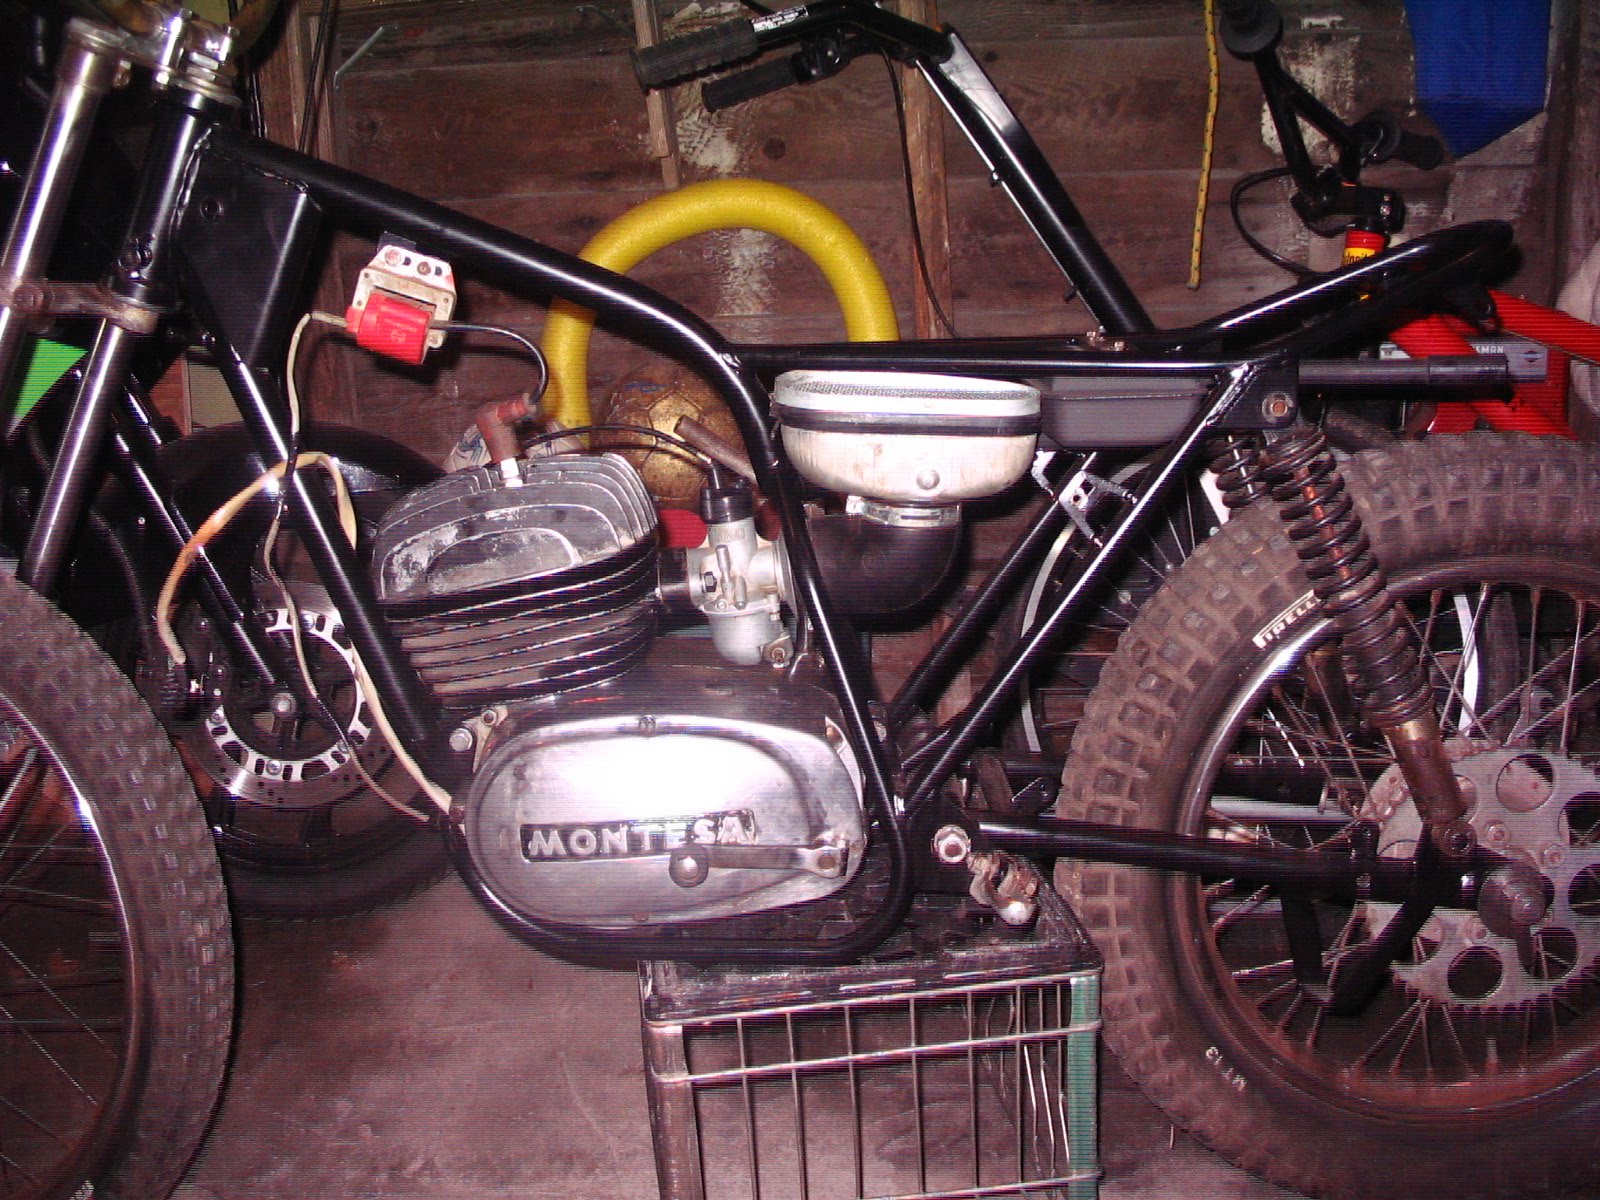
Once the frame was back and the prep work done, the build can begin! Above is a picture of the little lady in her current state. The swing arm and forks now move superbly after cleaning and repacking of the bearings. It is not really clear in the manual about which side of the forks some parts go on so we are trying to figure it out. Of special note, the small tab on the speedometer broke off when trying to reassemble. Karl welded on another tab and it works marvelous! Superb save Karl! In the picture below it is the tab sticking up. The day before that critical tab did not exist.