Tuesday, June 15, 2010

Day 16: Back To Basics

The decision has been made to go back to basics. Since this is a trials bike it took me all of about nine minutes to get the engine free of the frame. The oil drained while some yard work was attended to.
Once the side cover was removed, the kick starter assembly was visible. It appears that the end of the shaft is bent.
It took two to loosen this nut. Further inspection showed some loose screws but for the most part, this side of the engine looks beautiful.
Once the clutch is out, the kick starter shaft is easily removed. A spring must be removed from the shaft of the kick starter pin, but it is not under much tension.
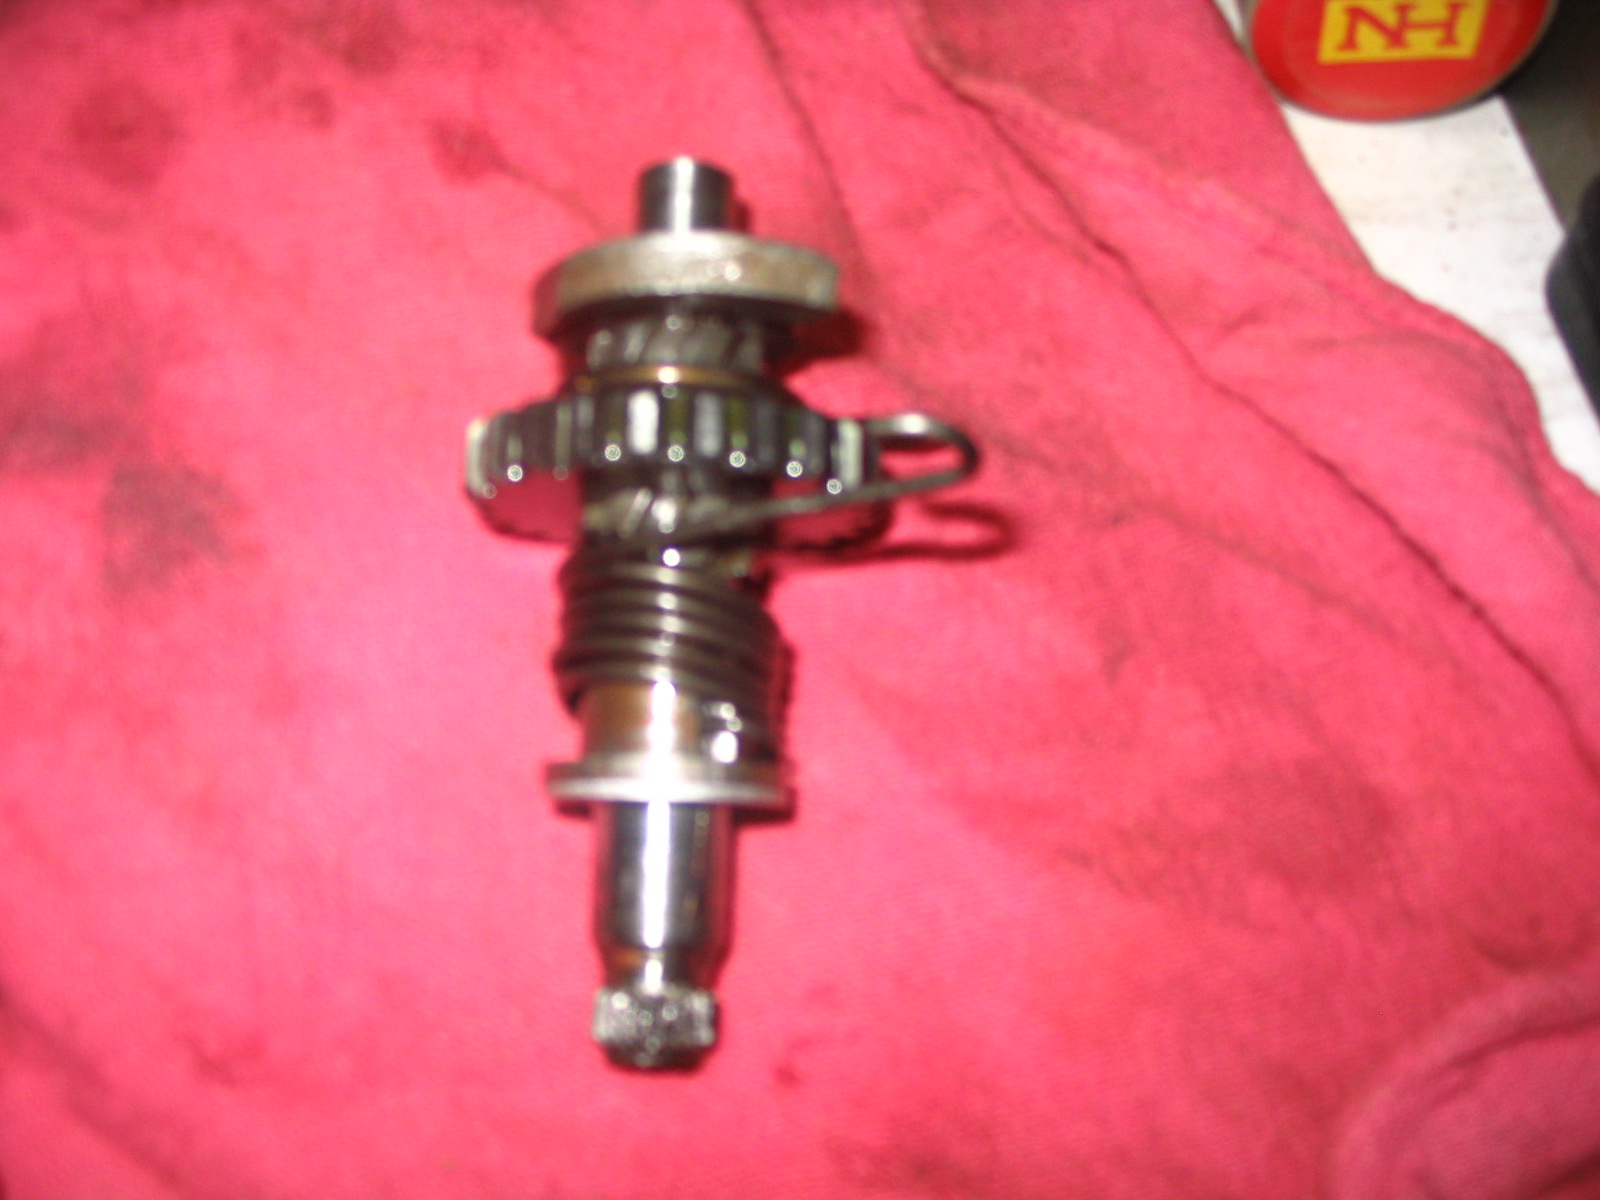
Here is the whole assembly once it is removed. It is difficult to tell from the picture but the broken end of the shaft is also bent at an angle far exceeding optimal.
The inside looks like it just came off the factory floor! Perfection!
Here is the layout of the kick starter shaft in order. Now that the pesky shaft has been removed. That did not take long.
I have exhausted my other supplier of parts and he has referred me to a new supplier. I guess I will be getting a list and checking it twice. Here is his website:
Very nice site!

Monday, June 14, 2010

Day 15: Kick Start Kaput!

Well... what can one say?! We are still unable to kick start the old girl. We have spark, we have compression, we even have the spark plug gapped correctly. After gapping the spark plug it started to have another cycle when kicking it. So we started giving her what for. As you can see from the pictures above, the post that the kick starter mounts to, broke off. In the end of the post is a bolt, and that snapped off as well. This will be needed to have an easy out used on it and the end of the post welded. The case also needs some tig work for filler and polished on a spot. The kick starter will also need some work with a grinder.

Tuesday, June 8, 2010

Day 14: Let-Down's and Laments; Trying To Start

Well as you can see by the video, she is not going to start without push starting. I went to Western Cycle Salvage on N. Vancouver Way in Portland, but nothing. No master link, no clutch cable, no bulk foam for an air filter.

Next I went to Johnny's Motorcycle Repair and was able to find out that the chain I have is a 428. Does not say that in either the Clymer's or the stock manual I have. They are at 1510 Washington St, Vancouver, WA. Their website is: www.johnnysmotorcyclerepair.com. I was able to order the master link for $4.28 (including tax). He said within a couple of days. So... I will soak the chain and get it all cleaned up, same with the clutch cable.

Before the test starting above, the top end did not have a gasket so I manufactured one out of a Lucky Charms box and a hole punch. Worked pretty darn good.

Now there is spark, compression, and fuel flow. We are one master link away folks!

Saturday, June 5, 2010

Day 13: Exhaust, Fuel Tank and Starting

Well after last night's monumental success, starting is now imminent! The exhaust, as shown here, is now mounted and finalized!
The only thing keeping her from starting now is the drying out of the fuel tank and mixing the fuel. There was some difficulty removing a pine cone from the inside of the fuel tank but all is good now. I am also informed by Karl, as per Southwest Montesa, the fuel mixture is 42:1. A bit odd of a mixture but what should one expect for 1972?! Other input that we have had say as high as 30:1. I guess we will have to dink with it a bit. Update: mix is 20:1.
The only thing holding us back from starting is the master link on the chain so we can push start her.
I had to manufacture the exhaust gasket. Here is the video:

Friday, June 4, 2010

Day 12: WE HAVE SPARK!

After a solid effort by Karl and myself checking the electrical system, WE HAVE SPARK! She lives! Today has been a monumental success! More to follow...

Day 12b: Electrical System

This is the entire fuse box and electrical system. The only part not shown is the kill switch on the handlebars. As per the manual, the left side is: green/black/red/yellow and the right side (without optional lights) is: Empty/coil/kill switch/empty. It is a very simple system without a battery. The plan is to add lights later and make it street legal.

Day 12a: Brakes and Throttle

It is my opinion that before going, one must ensure the ability to stop. To facilitate that I have completed the front and rear brake. This included replacing the rear break wing nut, which broke in half and shot across the room. Talk about dodging a bullet! That was two at once! The front brake just needed the cable rehabilitated and some cleaning. It still sticks a little but this bike hasn't been ridden in a long time and I believe some use will get it working good.
The throttle assembly, including the carburetor and cable, needed some extensive rehabilitation to get it to work properly, but all is well now!

Thursday, June 3, 2010

Day 11: Fuel System

The fuel system is next. As you can see it is very simple on a trials bike. The only part not included here is the carburetor, which is already mounted on the engine. Notice how the gas tank is integrated into the seat to conserve weight and materials. I decided to use brand new tubing after cleaning the fuel filters. Ridgefield True Value Hardware had exactly what I needed on hand and they are always helpful.
Now after the cleaning and rehab of the existing parts, we have a finished product. Beautiful!

Wednesday, June 2, 2010

Day 10: Continue the Build

Now that most of the problems have been ironed out, the build continues. Aside from a few hiccups, everything is starting to come together. I believe the only things that are needed to actually start the motorcycle are: Clean out the tank, purchase some tubing for a fuel line and connect the electrical. Once those three happen the motorcycle can be started.

Thursday, May 27, 2010

Day 9: The Top End and Mount

Manufacturer nuts are not going to happen. Team member Karl's dad, John D., was given the dimensions that were needed and the top end to use for reference. He quickly cranked out the needed nuts and they work marvelously!
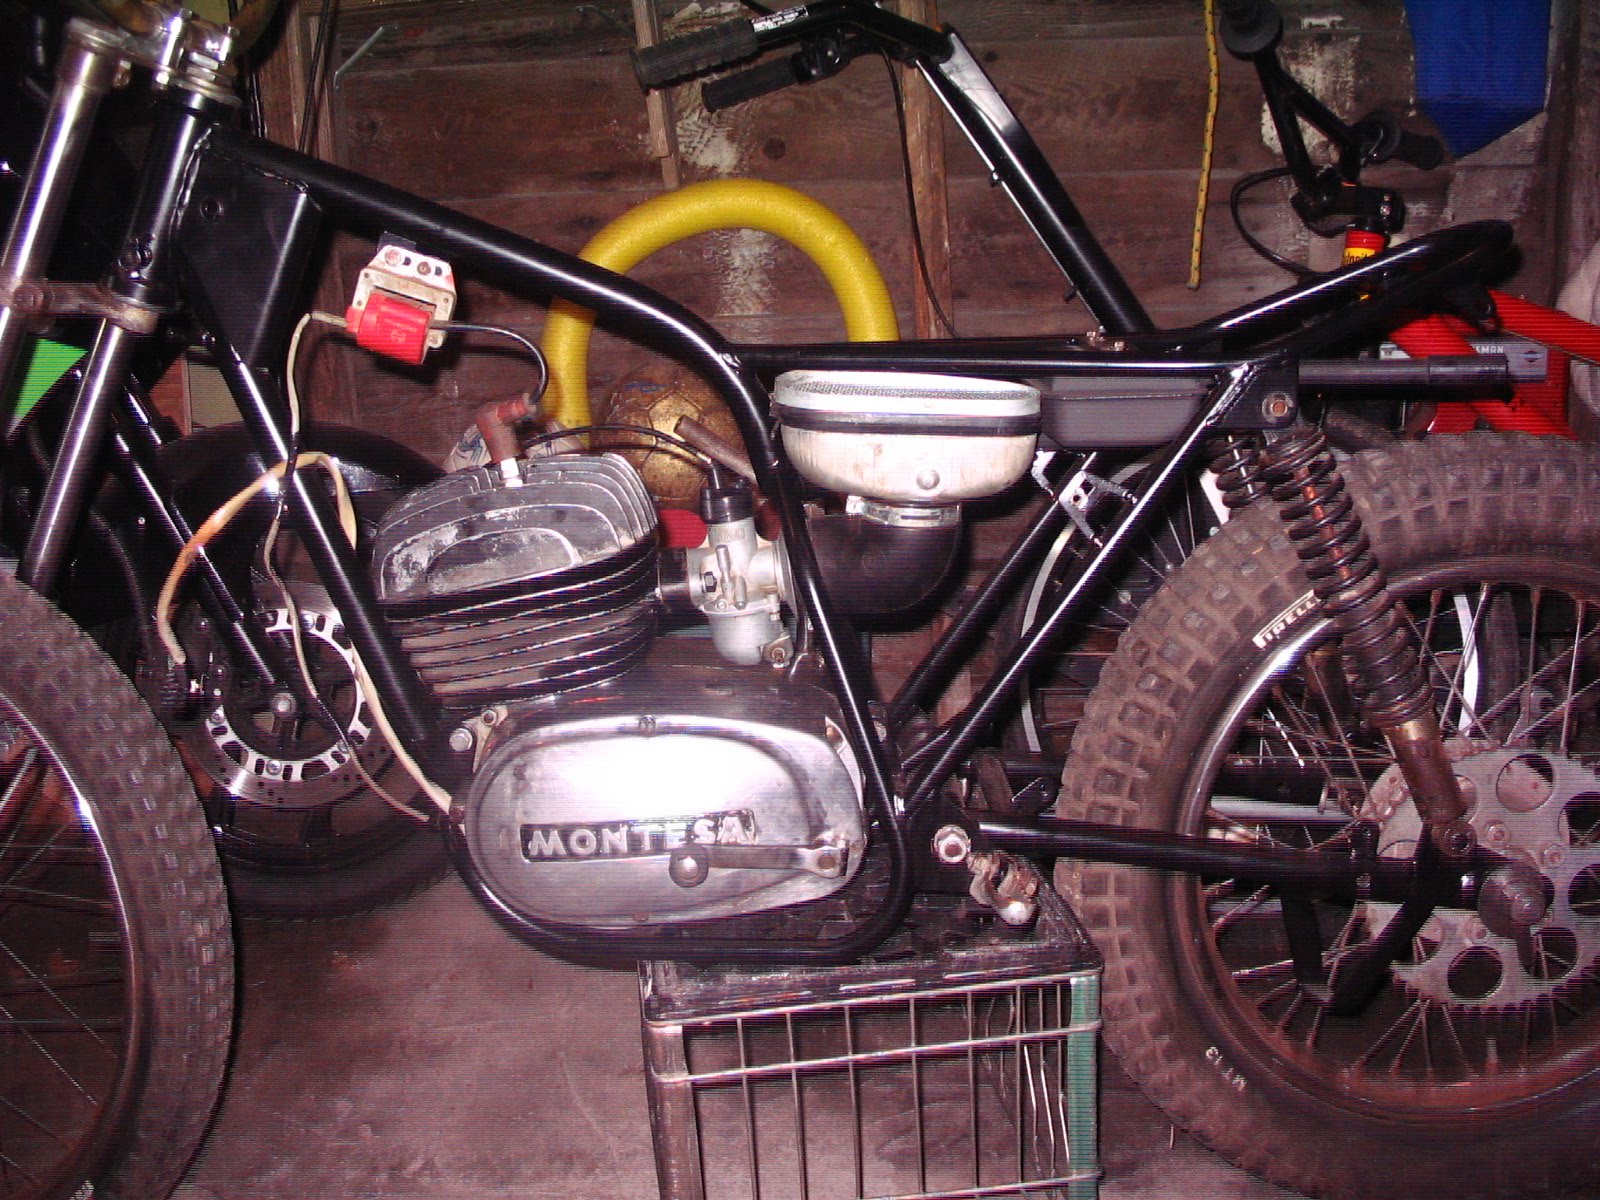
This project would be dead in the water if not for his gracious help. The top end has to be installed for the engine to be mounted.

As you can see, the nuts work and seat perfectly! Now that this dilemma has be easily conquered, progress will be much swifter folks! I have already sealed up the engine and mounted it in the frame.

Many thanks again to John! His valuable time and magnificent expertise were key to this phase!