Friday, November 19, 2010

Day 22: Rewired

Prepping the wire for soldering, and of course routing. It pays to keep attention to detail to get every little thing right. Home Depot had the wire I needed for $4.95 a spool (24 ft/spool) with most of the original colors. The original colors were black, yellow, green and pink. I have replaced pink with red, because I could not find pink wire. Leave it to Spain to use pink. The old pink was so bleached out from time it looked white anyway. Here is the finished product before the housing is put on the wire so everyone will know it is good as new!! This should last another 40 years. Good 16 AWG wire with very solid solder points. Now to install the housing over the wire, mount the plate and properly set the points.

Saturday, November 6, 2010

Day 21B: Problem Found!

Well, well, well. I was traveling around the points with the ohm meter and I was getting some strange readings. Sometimes the readings were good, sometimes not. I am thinking, what the heck! Being the thourough person I am, from my history of working on fighter jets, I decided to be better safe than sorry and take the entire plate off of the engine. This is kind of a hassle because ultimately, this is how the timing on the points occurs. The position of the plate, due to the fact that it is all mechanical, will have to be timed again upon installation. Well when I get the plate off, there is a broken wire behind it. A couple of strands were touching, hence the variable readings. This is the holy grail of why, when I was cranking the kick start in the previous video, there was nothing. I have a feeling we will be rolling soon, stay tuned!

Friday, November 5, 2010

Day 21A: Points Revealed!

Well folks, the points are finally revealed! The nut on the magneto was proving to be a project stopper. I finally dried up on creative, non-destructive ways to get the nut off and took the whole engine down to: www.johnnysmotorcyclerepair.com/. Those guys are really great down there! Johnny himself got that nut off with a couple of special tools in about 5 minutes, and no charge! Thanks Johnny:)! Next, I took it home and got out Dave's gear puller and popped that magneto off. I do, by the way, mean POPPED! I was looking for blood after it came off. No holes in me though, so I continued. Upon inspection under the magneto, I found the stray end of wire grounding out. This could be the problem I have been searching for. The next step is using the ohm meter to check everything and adjust to factory specifications and throw it back together. Now work can start to progress again. Expect more soon!

Saturday, September 25, 2010

Day 20: Ingniting Perfection

Turning on the gas, watching it drip into the clear line, like blood that keeps precious life from slipping away. Cycling the kick start to get the piston at top dead center. Maybe even using the tickler to coax her a little! Checking for neutral, winding up and giving her what for! When you are constantly met with nothing for all your efforts and you have a good, solid spark; there is only one thing left. Yes, I am talking about the points. I have now split the case on the other side from the kick start and will be digging in to the points. Fortunately the manual has good testing procedures for checking and timing them. The only problem is the mystery tool used to hold the reverse threaded balance flywheel is just that, a mystery. It feels like the nut was put on with more than the reccommended 72 ft/lbs of torque as well. A little T&E (minus the E) will follow. I will let you all know how it goes, wish me luck!

Wednesday, June 30, 2010

Day 19: Kick Starter Shaft Repaired!

Karl's dad, John, comes through again! This is a $166.00 part that he was able to straighten and repair. Thanks John!

Saturday, June 19, 2010

Day 18: Carburetor, Air Filter etc.

I have been trying to find somewhere to get foam to make a replacement filter. I was tempted to shave some off an existing cushion. Then it hit me, I have this love seat I am trying to haul off to the dump. I started cutting the covering off and was able to harvest enough foam to last another twenty years! In lieu of the spring, I will just use aluminum tape for doing duct work. Problem solved! We also took the carburetor apart and verified that the current jet is in fact a "U" like the manual specifies. The replacement part for the kick start is $166.00. We are going to explore some other options and see if that works. Thanks John Haberbosch at http://rmmontesa.com/ for giving the proper fuel to oil mix! This seems to be one of those closely guarded secrets! 28:1 to as low as 20:1! Otherwise we will be constantly replacing pistons! This little tip will probably save us plenty of heartbreak since we were recommended 40:1 to as low as 30:1! Quite a disparity there! Well even though the piston is easy to replace, I still would not like to do it every week. This was probably what originally killed this bike. Again John, THANKS!

Thursday, June 17, 2010

Day 17: Parts Supplier Found!

Well I got an email back from John at Rocky Mountain Montesa. Below is my whole wish list I am getting pricing for: Serial # on engine: 28M1448 Foot peg spring: 2820.326 Front Fender and hardware: 0090.0620, 0093.106, 0093.506 and 0092.06 Chain Guard: 2820.306 Rt side case gasket: 2860.113 Exhaust clamps: 3362.063 and 0096.1026028 Air cleaner: 2162.067, 3462.057 and 2862.321 Clutch parts: 0263.107, D5518, 2155.020 (amal 18/838-m) and 2155.021 ( amal 18/839) Kick Starter parts: 2865.007, 2865.005 and 2865.010.1T
Then lets see about making it street legal while we are at it!
Accessories
Light switch: 2170.065.2J Tail light: 0070.170152 and 2170.025 Wire harness: 2870.0345J Fuse box and pin: 0270.203 and 0070.2210204 Mounts: 2835.004 and 2835.005 Head light: 2170.0011J, 0070.2208003 and 0070.140267

Tuesday, June 15, 2010

Day 16: Back To Basics

The decision has been made to go back to basics. Since this is a trials bike it took me all of about nine minutes to get the engine free of the frame. The oil drained while some yard work was attended to.
Once the side cover was removed, the kick starter assembly was visible. It appears that the end of the shaft is bent.
It took two to loosen this nut. Further inspection showed some loose screws but for the most part, this side of the engine looks beautiful.
Once the clutch is out, the kick starter shaft is easily removed. A spring must be removed from the shaft of the kick starter pin, but it is not under much tension.
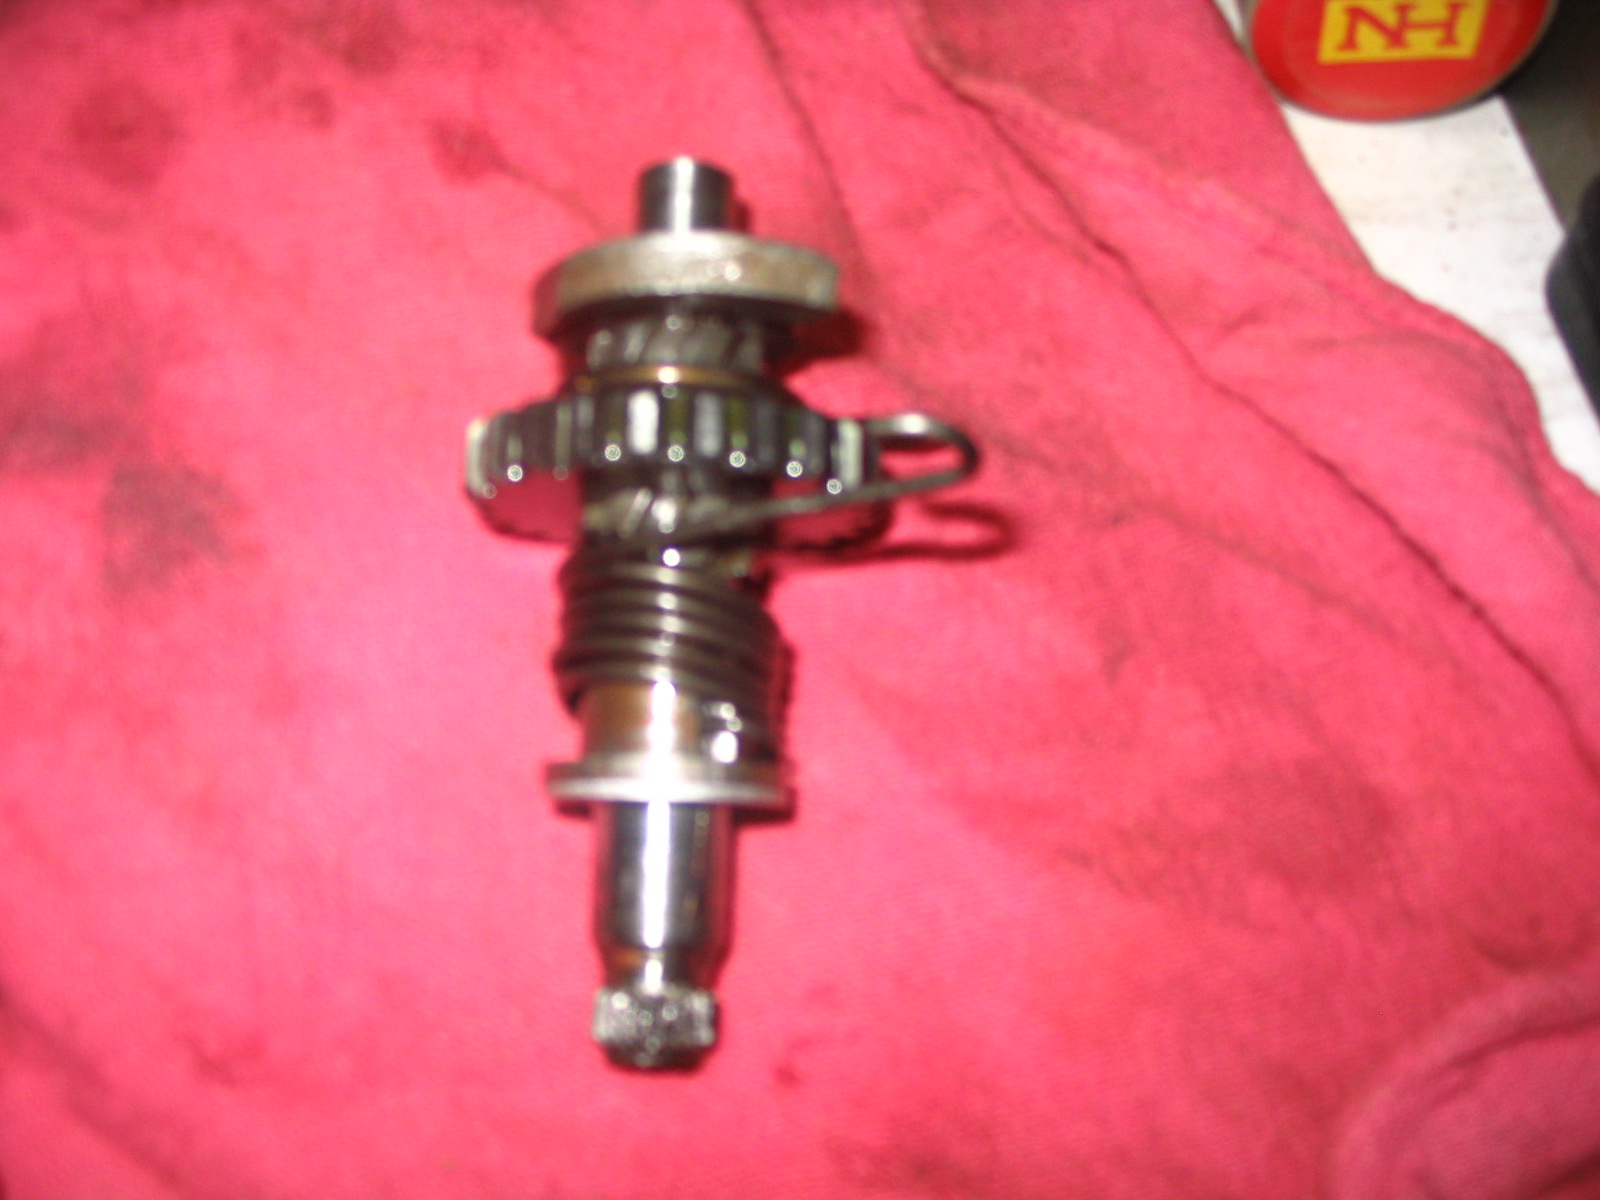
Here is the whole assembly once it is removed. It is difficult to tell from the picture but the broken end of the shaft is also bent at an angle far exceeding optimal.
The inside looks like it just came off the factory floor! Perfection!
Here is the layout of the kick starter shaft in order. Now that the pesky shaft has been removed. That did not take long.
I have exhausted my other supplier of parts and he has referred me to a new supplier. I guess I will be getting a list and checking it twice. Here is his website:
Very nice site!

Monday, June 14, 2010

Day 15: Kick Start Kaput!

Well... what can one say?! We are still unable to kick start the old girl. We have spark, we have compression, we even have the spark plug gapped correctly. After gapping the spark plug it started to have another cycle when kicking it. So we started giving her what for. As you can see from the pictures above, the post that the kick starter mounts to, broke off. In the end of the post is a bolt, and that snapped off as well. This will be needed to have an easy out used on it and the end of the post welded. The case also needs some tig work for filler and polished on a spot. The kick starter will also need some work with a grinder.

Tuesday, June 8, 2010

Day 14: Let-Down's and Laments; Trying To Start

Well as you can see by the video, she is not going to start without push starting. I went to Western Cycle Salvage on N. Vancouver Way in Portland, but nothing. No master link, no clutch cable, no bulk foam for an air filter.

Next I went to Johnny's Motorcycle Repair and was able to find out that the chain I have is a 428. Does not say that in either the Clymer's or the stock manual I have. They are at 1510 Washington St, Vancouver, WA. Their website is: www.johnnysmotorcyclerepair.com. I was able to order the master link for $4.28 (including tax). He said within a couple of days. So... I will soak the chain and get it all cleaned up, same with the clutch cable.

Before the test starting above, the top end did not have a gasket so I manufactured one out of a Lucky Charms box and a hole punch. Worked pretty darn good.

Now there is spark, compression, and fuel flow. We are one master link away folks!